What is image sampler
Have you ever wondered how to create Random geometry in Grasshopper can be created easily using simple steps ?
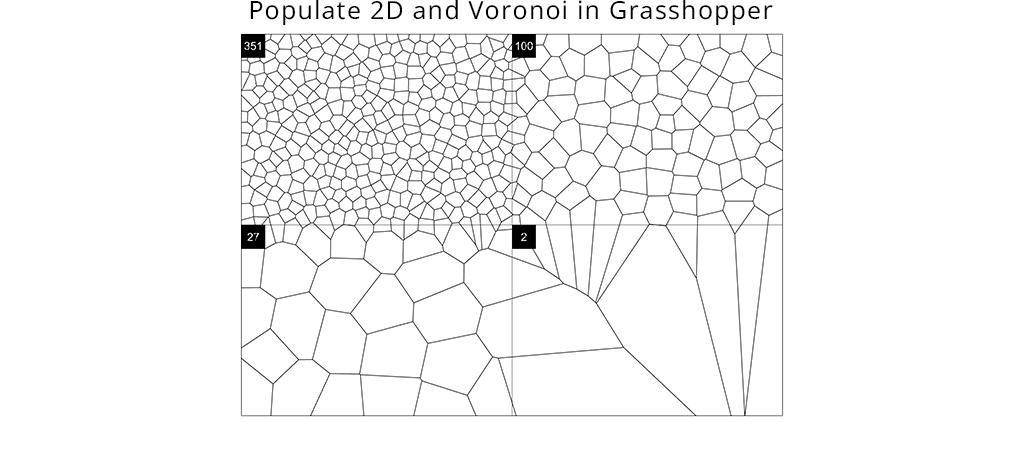
If so, you are in the right place. With the help of Grasshopper scripts, it is much simpler than you imagine. You only need 3 steps to generate a group of random shapes or geometry using Populate 2D and Voronoi in Grasshopper.
Populate 2D
The Populate 2D component creates a set of random points within a given boundary.
Populate 2D primarily works with rectangular regions. If you give irregular shapes as input, points may sometimes fall outside the intended boundary.
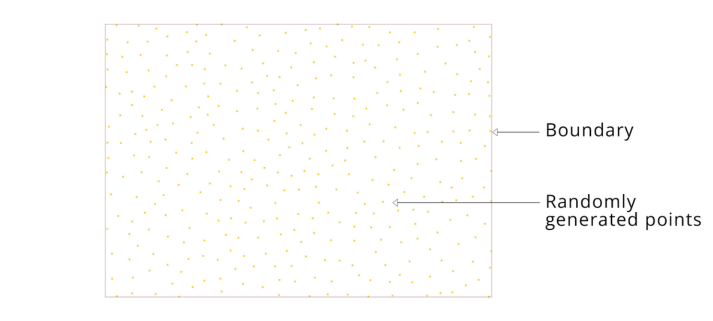
Since Populate 2D is a 2D component, the boundary shape should be flat (i.e., all Z-coordinate values must be the same).
Inputs of Populate 2D
Let’s go a little deeper into the Populate 2D component.
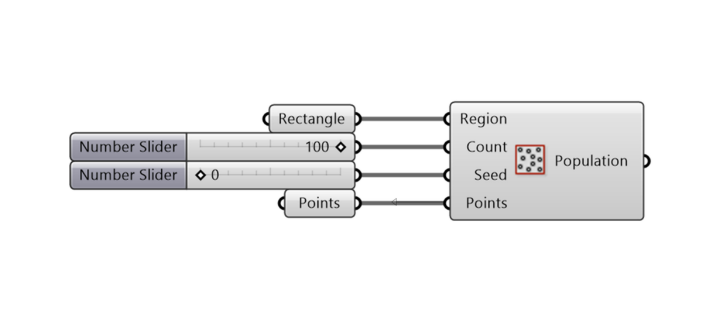
Inputs:
- Region – Boundary within which points are generated
- Count – Number of points to be generated inside the boundary
- Seed – Helps change the location of the points randomly
- Points – If you don’t want points in certain regions, you can manually place points there and input them (this tells Grasshopper not to generate points near those locations)
Seed in Grasshopper
In simple terms, a seed controls randomness in Grasshopper.
It’s like rolling a dice—each value of the seed generates a different random result.
Randomness in Grasshopper
We all know what “random” means, but in Grasshopper, randomness is actually controlled.
For example:
If you generate a color with a seed value of 5, and it gives you red, then change the seed to 8, you might get green. If you change the seed back to 5, it will again give you red.
So, the randomness is repeatable and predictable, which is extremely useful in parametric design.
What is Voronoi in Grasshopper?
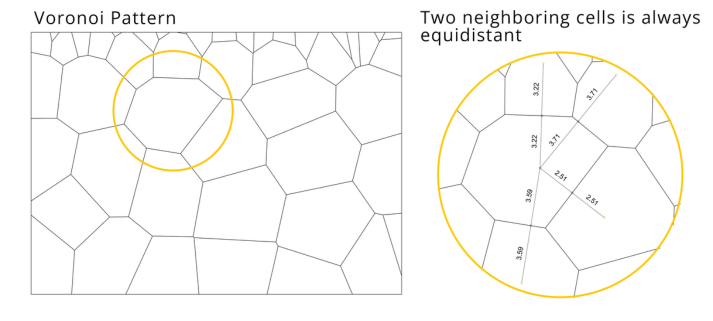
Voronoi is a geometrical pattern generated based on points within a boundary.
Each cell in a Voronoi diagram contains all the locations closest to its corresponding point. The edge between two neighboring cells is always equidistant from their respective seed points.
Understanding How Voronoi Works
- Create a boundary
- Add points inside the boundary
- Create circles at each point
- Increase the radius of all circles gradually
- When two circles touch, stop increasing their radius
- At this stage, both circles have equal distance from their center to the edge
- Draw curves outlining the meeting edges of the circles
- This forms the Voronoi pattern
Inputs of Voronoi Component
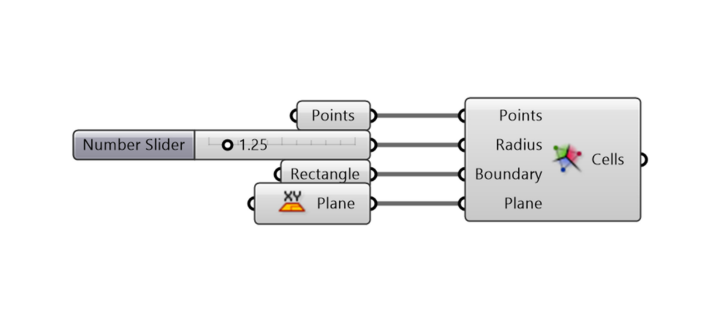
- Points – Center points of the Voronoi cells
- Radius – (Optional in some implementations) controls influence area
- Boundary – Defines the outer limit of the Voronoi diagram
- Plane – The 2D plane where the Voronoi is generated
Applications of Voronoi
- Voronoi patterns are widely used in:
- Architectural facades
- Urban planning layouts
- Structural patterns
- Generative and parametric design
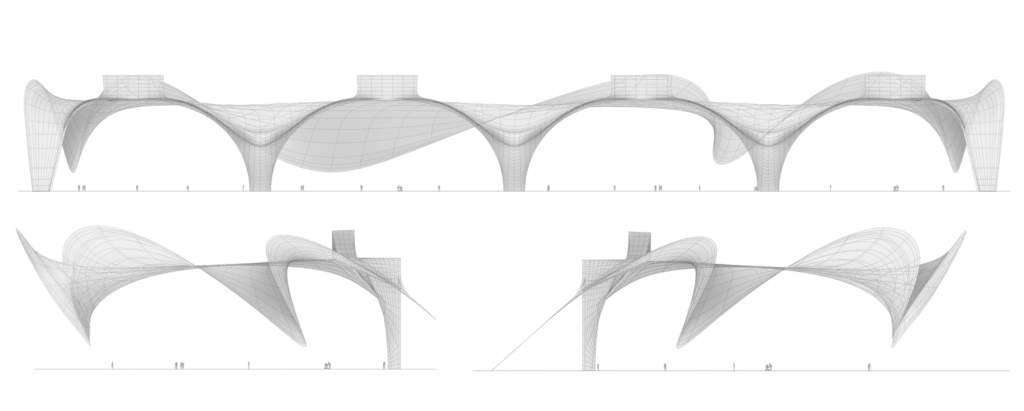
Real world example
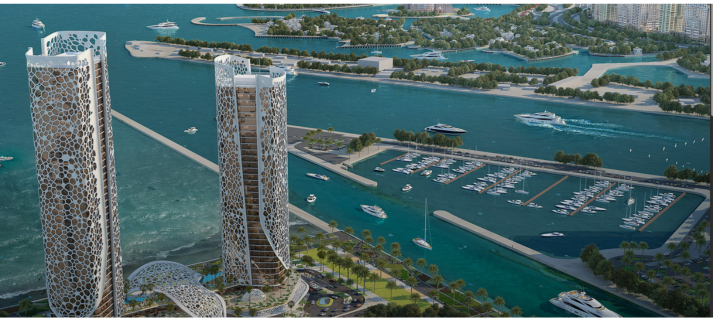
Why Use Random Geometry in Grasshopper?
Random geometry in Grasshopper helps designers explore multiple design variations quickly. Instead of manually creating patterns, you can generate complex and organic forms efficiently. This approach is especially useful in parametric design, where flexibility and iteration are essential for achieving optimized results.
Conclusion
So far, you have understood:
- Populate 2D
- Voronoi pattern
- Randomness and Seed
Now, here’s how to create random geometry in Grasshopper in just 3 steps:
- Define a boundary
- Use Populate 2D to generate random points
- Feed the points into Voronoi
To see these 3 steps in action, download the grasshopper script given below.xd